Creating a Multi-Step Class
Multi-step classes allow you to have different environments, tailored for specific steps in a course, all contained within the same class. Each step must be its own blueprint.
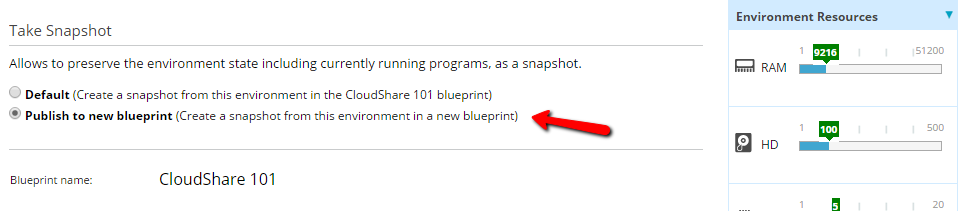
TIP: To easily build multiple, progressive blueprints from the same original environment, you must take a Snapshot and publish it to a new blueprint:
Creating the Class
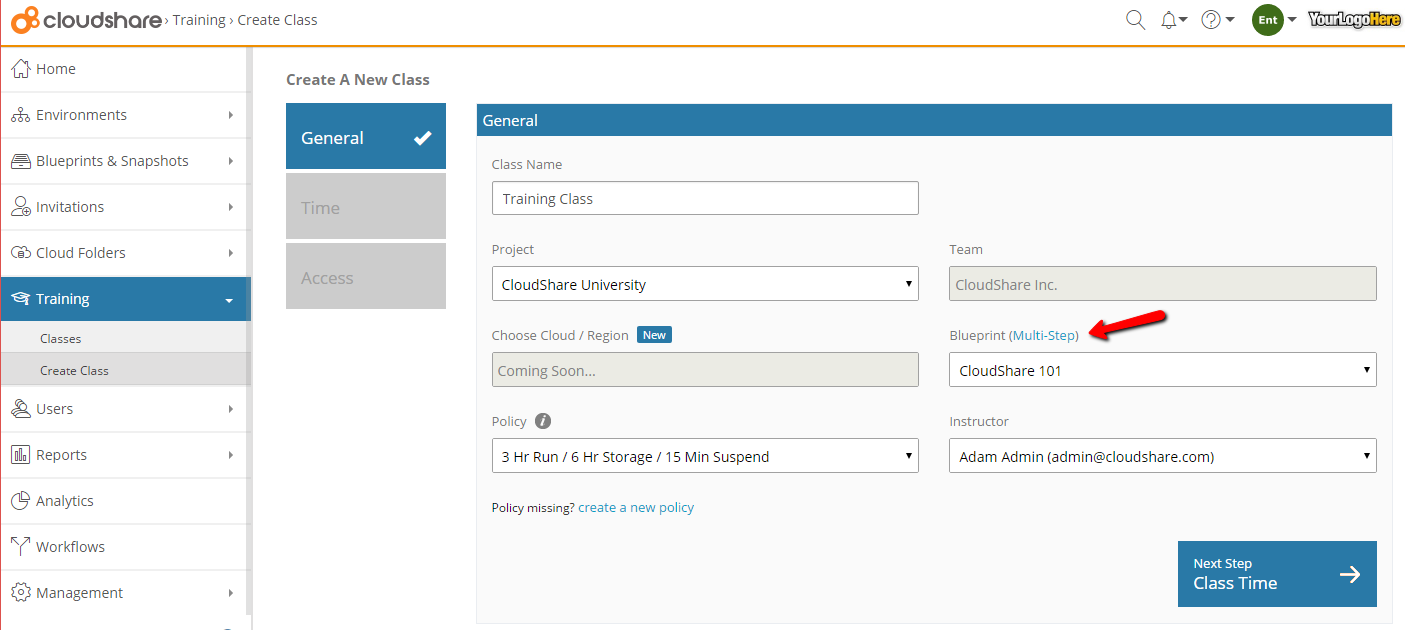
1. Select the Multi-step option when creating your class
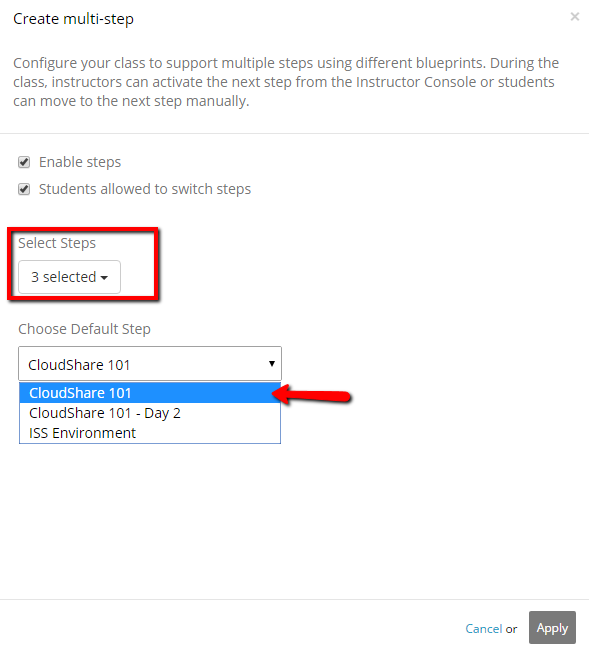
2. The following window lets you select whether to allow students to change steps themselves, the blueprints that will be used at each stage and which blueprint will be the starting point
3. Complete the remaining steps for creating your class
NOTE: When creating a multi-step class from a blueprint which uses external resources (e.g., Google Cloud Platform or Azure), the external cloud Region that you select for the first step will become the default Region for all steps in the multi-step progression. To use a Region other than the default Region for a subsequent class, contact CloudShare Support.
Managing Students in the Multi-Step Class
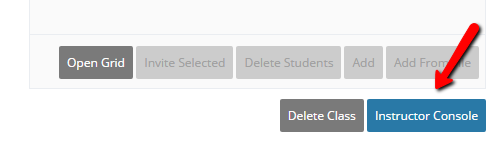
From the Instructor Console, you can move students from one step to the next.
1. From the Students tab at the left side of the Instructor Console, select the checkbox next to each of the student(s) for whom you want to Change Steps.
2. Click the more actions  icon and select Change Step.
NOTE: A 'C' icon appears at the right side of students whose environment step can be changed. Hovering over this icon shows which step that student is currently on.
3. Select the step to move to:
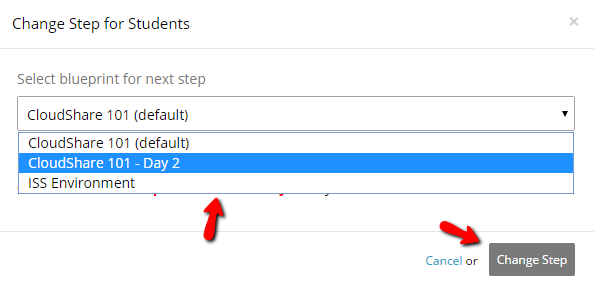
This will delete the student's current environment.
Students can be moved forward or backward through these steps at any point. However, with each change, the student's previous environment will be overwritten and replaced with the new one.
NOTE: If you enabled access for students to change their step, this option will also appear in their CloudShare Viewer.
Comments
0 comments
Please sign in to leave a comment.