Export Your Environment
CloudShare offers you the ability to export and download your individual VMs and entire environments directly to your Cloud Folder. The resulting OVF files can then be imported to your local Virtual Center, or you can connect to AWS storage and export your projects there.
To enable the export feature:
- Click Projects in the left side-bar menu
- Click the project with the environment you want to export.
- Click the Permissions tab
- Click the edit icon in the Environments box to enable Export Environment for all or specific users
Method 1: Exporting VMs
From your main environment dashboard screen, you can either export individual VMs or the entire environment in one shot.
Each VM will have it's Export VM button. The exported file itself will be based on the snapshot you have stored for this environment.
From the same view above, you can also export the entire environment by clicking 'Export VMs' from the right-hand menu.
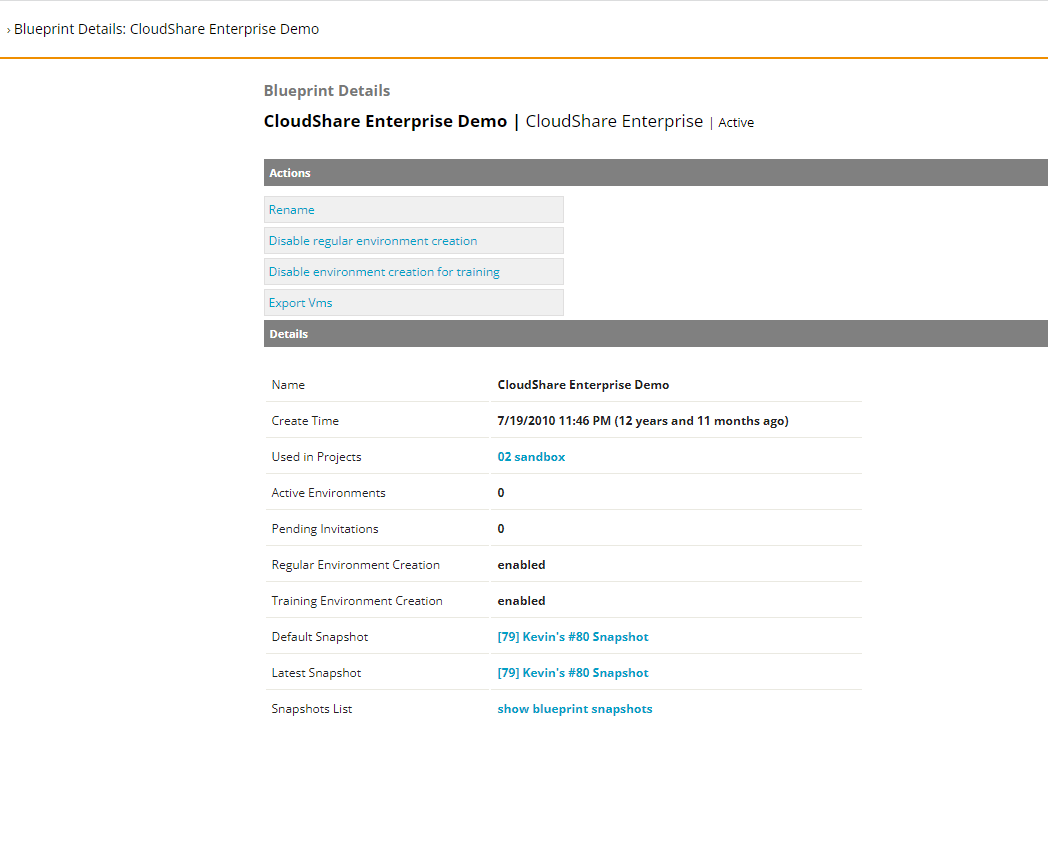
Method 2: Exporting Blueprints
You also have the option of exporting the environment from a specific blueprint, which can be done via the Blueprint Details menu.
- Head to Infrastructure> Blueprints
- In the following screen select the environment's Blueprint that you want to export
- From the screenshot below, select Export VMs
Selecting the Snapshot
The two export methods both lead to the same menu below which allows you to select the snapshot version you want to export from and where you want to save the exported VMs to.

Currently you can choose to export to either:
- your Private Cloud Folder
- your Project Folder
Then select the directory to save the files.
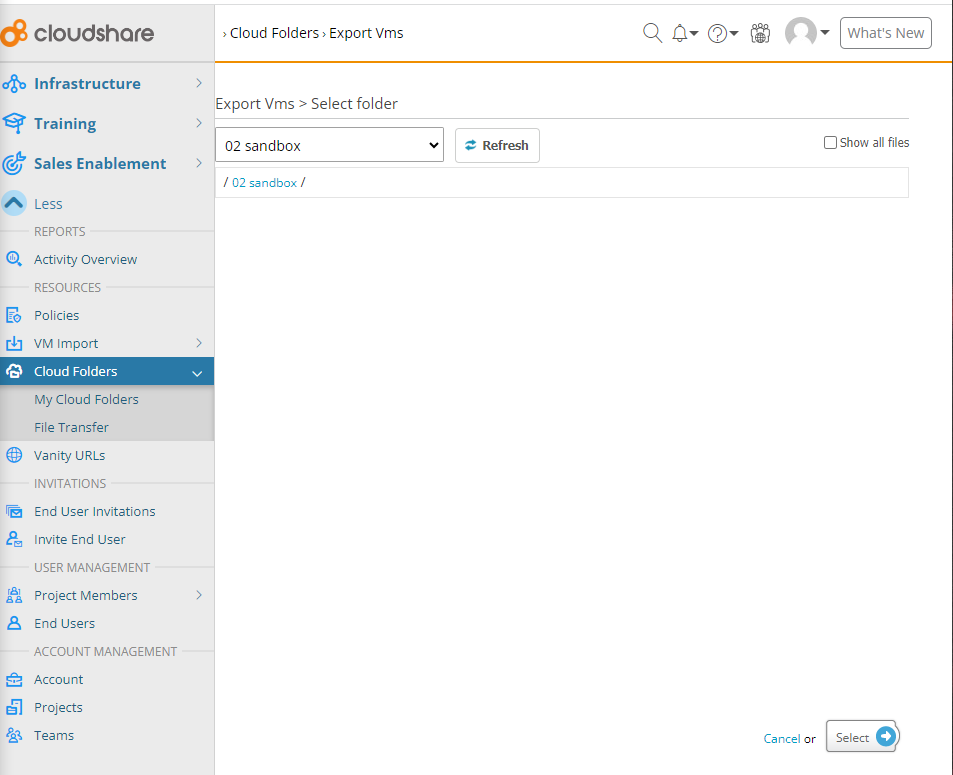
Finally, click Export.
Note: Once exported, Microsoft licenses are not covered by CloudShare.
The exported VMs' credentials will be included in a separate .dat file. View this with any standard text editor.
Comments
0 comments
Please sign in to leave a comment.